Putty time!
Putty on.
Putty off.
Putty on.
Putty off.
Putty on.
Putty…

Smoothing out the welded areas.

Surface pitting here…

I don’t know which is worst; sanding or welding…. At the moment I think it’s sanding. 🙂

– – –
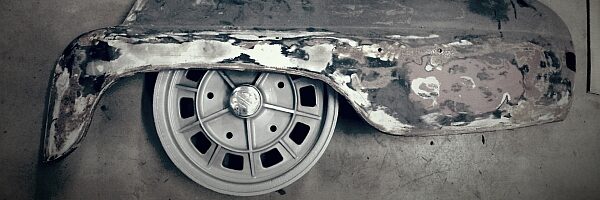
We are planning on getting the car on it’s wheels next weekend, so all the suspension parts have to be found (they are stored in several boxes somewhere…).

Rear axle. Temporary hubs.

Springs.

– – –
Update 2008-7-20
OK. We didn’t put the car on it’s wheels yet. I realized that it’s better to wait until at least the engine bay is painted (overcoat and all)….
But, here’s some photos after putty and a new coat of primer:

This area is now pretty good.

Some minor fixes needed, but all in all almost ready here also.

Done here too!
So the insides are pretty much ready for filler paint and water sanding. But ofcourse, the exterior is still to be sorted. I started with the side panels.

Here’s the section right under right hand side rear window. The shape is pretty good here, no need for panel beating.

But further down there’s some issues with warping because of all the welding.

And even further down the side it gets worse. So this will need some beating to raise the low areas. The shape should be so close to the desired that preferably less than 1 millimeter layer of putty is needed to do the final smoothing.
Ofcourse if there is some surface pitting you may need a thicker layer of putty there. But the rule of <1mm is good for any larger areas that need putty. If you put too much putty it will eventually crack because of vibrations. The doors are especially difficult in this respect.

Even if you get the shape of the panels to within 1 millimeter of specs, you’ll still need putty to do the final smoothing. So, putty time again!

The side panels are a bit tricky to sand, because of the basic shape. It curves from front to rear and from up to down. A long flexiple sanding block is needed to get the shape right.

Tools of the trade – two pieces of laminate flooring, about half a meter long and 6 cm wide. The laminate is a little bit flexible but has a hard surface. Ideal for following the gentle curves of a Saab.
The sanding paper is attached with two sided tape or glue.
– – –
We really need to concentrate on the body, so the door repair is on hold. But we started to make one missing piece for it – The list that runs the length of the door and holds the bottom edge rubber seal.

In a V4 it’s just held with some plastic clips but on a stroker the rubber seal fits snugly in a special groove. As the one on the door is now 70% rust, we have to make a new list. In the photo the rubber on left and the beginnings of the list on right.